Setup
Last modified: 26 January 2025Install the Ninja Input plugin using the Epic Games Launcher.
Open your project and enable the plugin:
Edit→Plugins, search for input, and tick the checkbox for Ninja Input. Restart the engine.Add
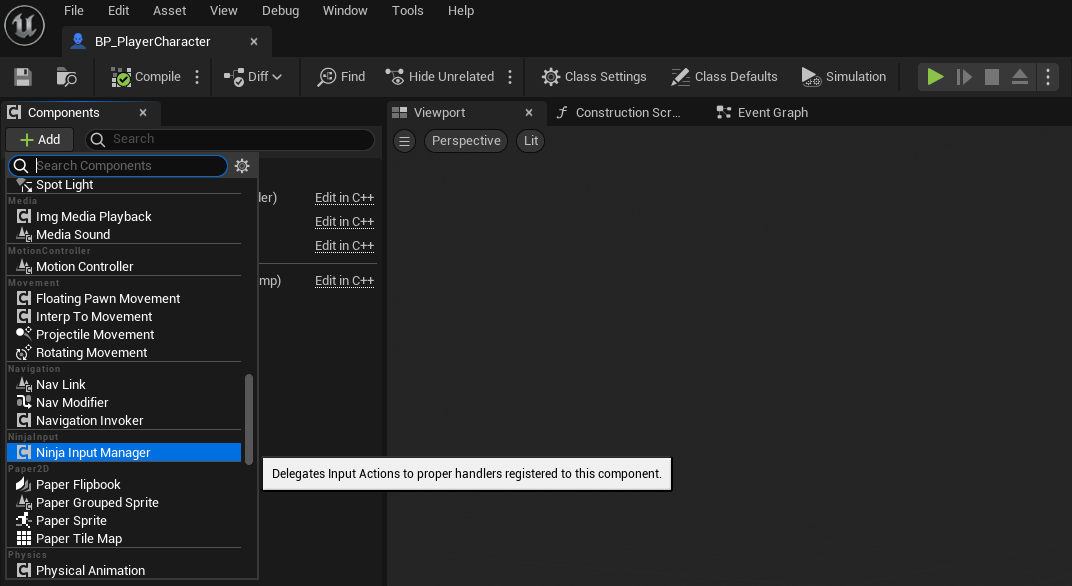
NinjaInputManagerComponentto your Player Controller.
This page will walk you through the steps necessary to enable the Ninja Input plugin.
Installing the Plugin
Once acquired, the plugin can be installed via the Epic Games Launcher. As with any Code Plugin, it can be installed to any compatible engine version.
Once installed, create or open your project and navigate to Edit and then Plugins. In the search bar, type input and the Ninja Input plugin should appear. Tick the checkbox and restart the engine.
C++ Libraries
If you plan to work with C++ and use classes from the Input System, ensure you add the following modules to your Build.cs file:
PublicDependencyModuleNames.AddRange(new []
{
    "GameplayAbilities",
    "GameplayTags",
    "GameplayTasks",
    "InputCore",
    "NinjaInput"
});
Input Manager
The Input Manager must be added to the Player Controller or Character.
It's usually better to add the Input Manager to the Player Controller, but for prototypes or smaller projects, you can also add it to the Player Character. The advantages for the Player Controller are:
Lesser requirements in the Player Character, allowing a leaner character hierarchy.
Support for different pawns, providing their own Input Setups when possessed.

#pragma once

#include "CoreMinimal.h"
#include "GameFramework/PlayerController.h"
#include "PluginLabsController.generated.h"

class UNinjaInputManagerComponent;

UCLASS()
class PLUGINLABS_API APluginLabsController : public APlayerController
{

    GENERATED_BODY()

public:

    APluginLabsController(const FObjectInitializer& ObjectInitializer = FObjectInitializer::Get());

private:

    UPROPERTY(EditDefaultsOnly, BlueprintReadOnly, Category = "Components", meta = (AllowPrivateAccess))
    TObjectPtr<UNinjaInputManagerComponent> InputManager;

};#include "GameFramework/PluginLabsCharacter.h"
#include "Components/NinjaInputManagerComponent.h"
APluginLabsCharacter::APluginLabsCharacter(const FObjectInitializer& ObjectInitializer) : Super(ObjectInitializer)
{
static const FName EquipmentComponentName = TEXT("InputManager");
InputManager = CreateDefaultSubobject<UNinjaInputManagerComponent>(EquipmentComponentName);
}Creating and Assigning Input Setups
The plugin is ready and the next step is to configure your Input Handlers and Setup.
You can go straight to that by following this guide, or you can continue to the next session to learn more about the system.